Lesson one: Perspective. (Introduction)
 |
| The Power of Perspective! |
Perspective is obviously a key element in making any drawing look good and proper. If you struggle with perspective then you're in trouble! Thankfully I think I'm pretty average with perspective drawings so, I didn't cry as hard when I was doing it!
Firstly, we took a spare page and was told to 'loosen up'. Basically, freely sketch and scribble whatever on the page. This should be done before sitting down to draw anything, as it helps to loosen up the muscles in your arm allowing you to draw more efficiently. I'd never done it before, but I found it happily beneficial. I'll be doing that more often! After letting our pencils freely roam the page we cracked into the dark depths of Perspective drawing.
Firstly, one-point perspective.
This is the easier one, for me anyway. Starting with a Horizon Line (which is basically your eye line, or eye view) you mark a single vanishing point in the center. Everything you now draw will lead back to this single vanishing point. There's not much in terms of depth but it's a lot easier to do. The picture below is a good example of one-point perspective.
 |
| One-point, in action! |
Two-point perspective, ahh!
After covering a page in shapes to display how one point perspective works, we moved on and added another vanishing point! As if one wasn't enough!
Honestly, two-point perspective isn't that difficult once you understand the concept of what's going on and where all the lines go. Otherwise it gets rather confusing and that's what puts people off perspective drawing.
Now, on your horizon line you have two different points that the lines can travel back to. The lines on the left side of the page go to vanishing point 1 (on the left side), and the lines on the right go to vanishing point 2 (on the right side). Any vertical lines remain parallel to the sides of the page. It's not difficult to understand after a bit of practise. Let's look at an example.
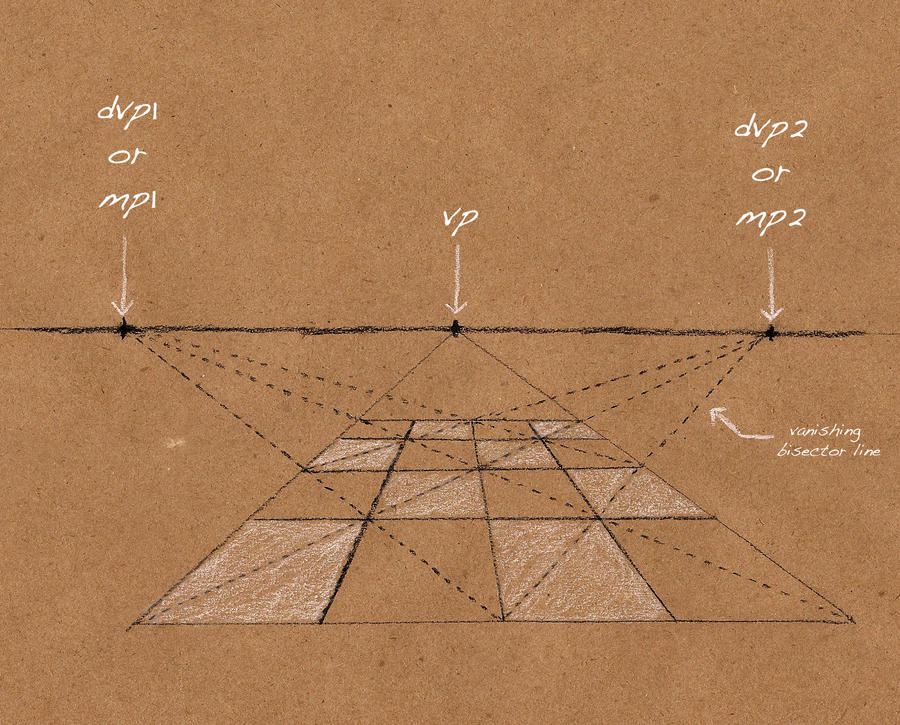
 |
| Two-point, more depth. |
By adding another point, any drawing will look more 3D and realistic in terms of proportion. A lot more detail is shown in a two-point perspective and it's the most commonly used type of perspective because of this. Practise makes perfect and that's certainly the case with perspective drawing!
Finally, three-point perspective.
"Cringe in horror at three-point perspective!" .. Or at least that's what Mark said. I'd never done three-point before so I wondered how it would work. About 5 minutes after I'd thought that question, I wished to never have asked.
In a three-point perspective drawing you have.. You guessed it, three vanishing points. Two lie on your horizon line and the third is either above or below it, and is called vanishing point 3. All of your vertical lines will lead to this point. Again, there's an example below.
 |
| Three-point, adds dramatic effect! |
Thankfully, that's it for perspective. Woohoo! Next week we're starting on the basics of character design. Can't wait for that. Until then, we have a few small pieces to be working on to practise our perspective. It's all for a good cause, I guess!
Until next time. :)